There are a variety of ways to kick off the signing ceremony when using Nintex AssureSign, but if you are leveraging Nintex Document Generation, you may want to dynamically place JotBlocks before sending the document out. Here we will look at how to add in a simple signature and explore how we can add in other options.
JotBlocks
Before we get too deep, it is important to understand what a JotBlock is when it comes to AssureSign. JotBlocks are how end users interact with a document that has been sent to them via AssureSign. Whether it requires a signature, initials, or some text, JotBlocks can be defined within the AssureSign portal on a template, or dynamically embedding them on the document. For this scenario, we are going to embed a signature JotBlock on a document. We can place the signature where we want but also leverage Nintex Document Generation to create a dynamic document rather than a static template.
Setting Up AssureSign
In order to get the signature when the document is passed to AssureSign, we will need to ensure that the JotBlock is setup. We can do this a few ways; create a static template to reuse over and over again, create a blank template with all of the required JotBlocks, or we can add an entirely new JotBlock in the document before sending it to the blank template. Creating a static template can be beneficial for those instances where the document that requires signature or interaction from the end user does not change but falls short when we are creating documents on the fly and the length and structure of the document can change every time.
In order to do this dynamically, we need to create a blank template. From here we can either add all of the required JotBlocks and embed tags in the document to override the location of the JotBlock, or create the JotBlocks in the document during the generation. Creating a blank template with every JotBlock is simple and easy, but may become an issue if there are constant adjustments that need to be made. Knowing how to dynamically create a JotBlock tag and embed it in the document makes the process as flexible as your process needs it to be. For this scenario, I will use a template that has a single signature JotBlock already on it, but will also create a JotBlock in the document for the user’s initials.
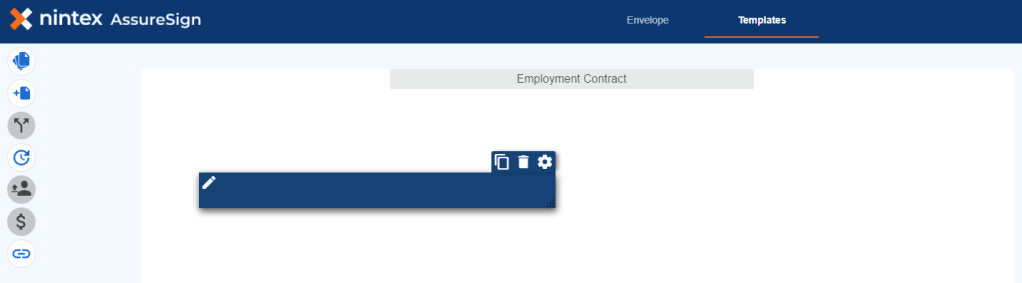
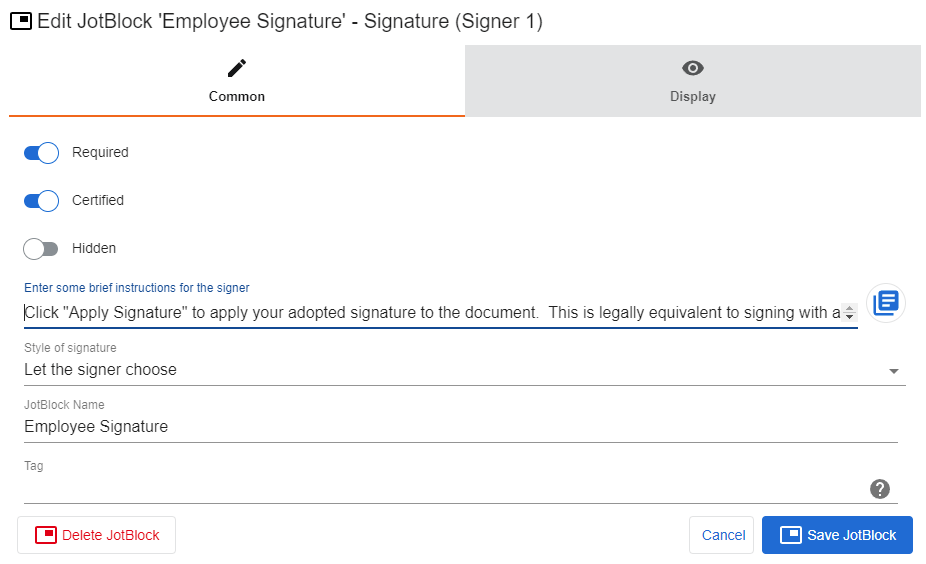
Note the name of the JotBlock (“Employee Signature”) as that will help us when we create the embedded tag.
Setting up the Document
In order to get the signature JotBlock to show on our document, where we want it, we will need to create an embedded text tag. If we are overriding the location of the JotBlock (as we are in this scenario), the name of the JotBlock is all we need since all other properties are defined within the AssureSign template. The tag itself can be setup as follows:
{{!##{PropertyName:"Value"}##!}}

{{!##{Name:"Employee Signature"}##!}}
Yes, it is that easy!
Now we want to add another JotBlock for the end user to sign their initials under the signature. For this, we will need to dynamically create the JotBlock in the document. Here is the breakdown for all of the properties we want in order to create it:
{{!##{
Name:"EmployeeInitials",
InputType:"Signatory",
FieldType:"Written",
Border:"All",
InkColor:"Black",
Instructions:"Please use the mouse to write your initials.",
Height:"0.05",
Width:"0.15",
SignatureType:"Initials",
SignatoryEmail:"<<StartEvent_email_address_r16lUR8uTMm>>"
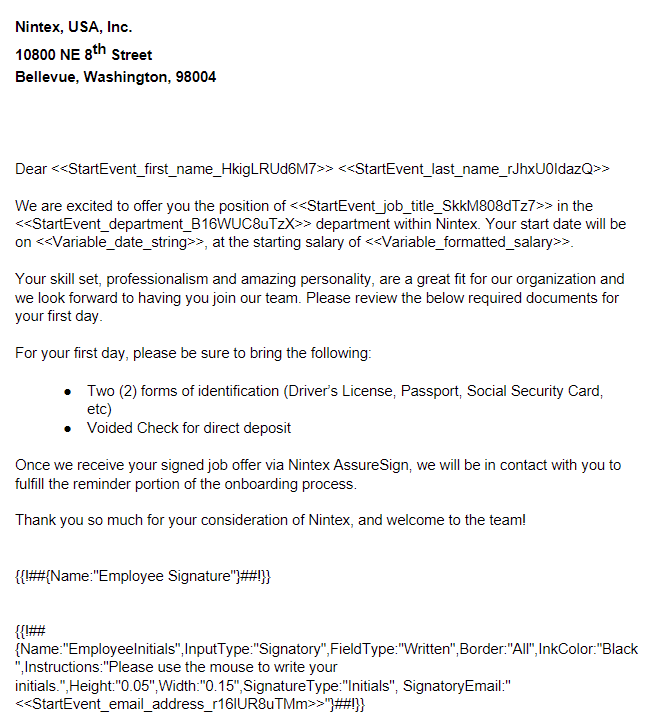
}##!}}Based on the above, we see that we are creating a JotBlock for “Initials” name “EmployeeInitials”, and it will be “Written” in “Black” ink. Since the document will be generated and then sent to AssureSign, we can start to do some dynamic things with this, like passing the email address from Nintex Document Generation. Here is what the Word template looks like for our workflow:
Putting it into motion
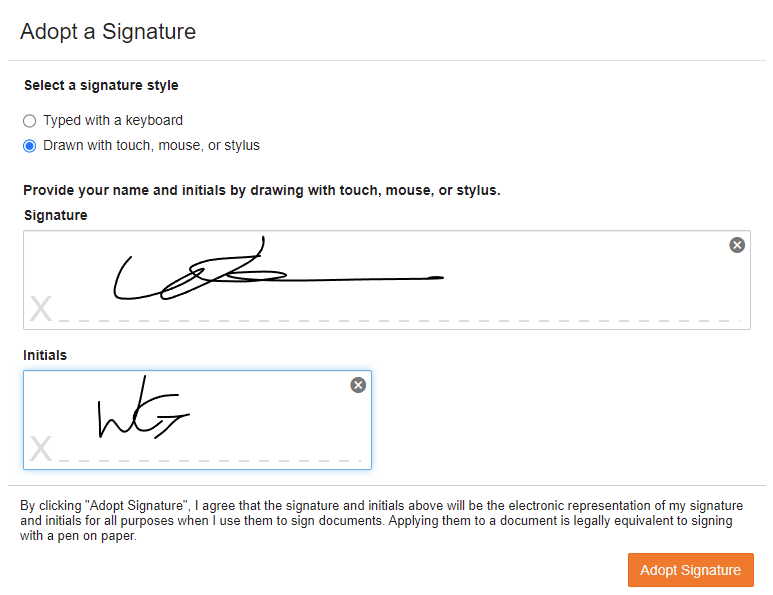
Now that everything is setup, let’s give it a go and see what the end user experience is like. In our scenario, we are creating an offer letter for a potential new employee, and they will need to sign and return the document. I am going to skip over the majority of the workflow and jump right into the signing ceremony. Below is the signature and initials capture along with where it is placed on the final document.


Final Thoughts
Adding embedded text tags allows you to override the location of a JotBlock that is already setup on a template. This gives you control over where the end user is placing their signature or where you need them to interact with the document. Going further and dynamically creating a JotBlock text tag within a document allows you to not only place the JotBlock where you wish but set properties without having to predefine them on a template. For additional examples and details around Embedded Text Tags, check out our post in the Nintex Community.

Leave a comment