Continuing the conversation from last time where we discussed Setting Up Nintex RPA, we will dive into another piece that may be helpful as you build out automation using Nintex RPA. This next topic of the series will cover how to install the Nintex RPA Chrome Extension, which allows you to target objects inside of Chromium-based browsers.
Installing Nintex RPA Chrome Extension
We can add the extension to both Google Chrome and Microsoft Edge if desired. First, let’s take add it to Google Chrome.
- Launch Google Chrome and navigate to https://www.nintex.com/chrome.
- From here, click on “Add to Chrome”.
- You may be prompted with a pop-up, if so, simply click “Add extension”.

Now let’s add it to Microsoft Edge.
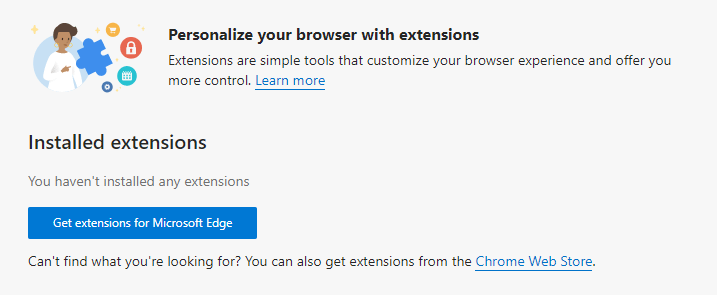
- Start by launching Microsoft Edge
- Click on the ellipsis in the upper right corner and then click on Extensions.
- You will then click on Chrome Web Store to be redirected to the Chrome Web Store.
Advertisements
Advertisements
- Click on “Allow extensions from other stores” in the banner at the top of the screen.
- Click “Allow” to confirm your selection.


- Navigate to https://www.nintex.com/chrome.
- From here, click on “Add to Chrome”. Yes it says add to Chrome even in Microsoft Edge.
- You may be prompted with a pop-up, if so, simply click “Add extension”.

Advertisements
Advertisements
Nintex RPA Extension Requirements
In order to ensure the extension works properly, there are a few things to consider and ensure are set before execution. Here is a list of requirements
- Nintex RPA version 16.5.5 or higher.
- Google Chrome Version 75 or higher.
- Microsoft Edge Version 83 or higher.
- Browser zoom set to 100%
- Windows Display Scale and layout set to 100%
- Windows Display Make text bigger set to 100%
For more details on Nintex RPA Chrome Extension, be sure to check out the Nintex Help files.

Leave a comment