There are many reasons that we may need to delete a workflow from our environment but most of the time it is just not needed anymore. Perhaps it was used for a test or even a single use effort to mass update data. Whatever the reason, removing the workflow from your environment is best practice as it frees up resources and keeps your environment clean.
Finding the Workflow
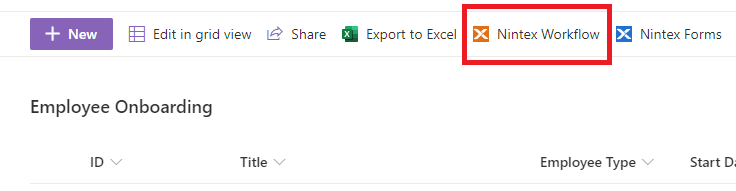
In order to delete your workflow, simply locate the site and list or library that is resides on and navigate to it. In the list or library ribbon, you will see Nintex Workflow. You want to start here and click into it to see your workflows for that object.
If you are looking for a Site Workflow, you just need to navigate to the Site Contents and scroll down to the Nintex Workflow for Office 365 app and click on that.

Deleting the Workflow
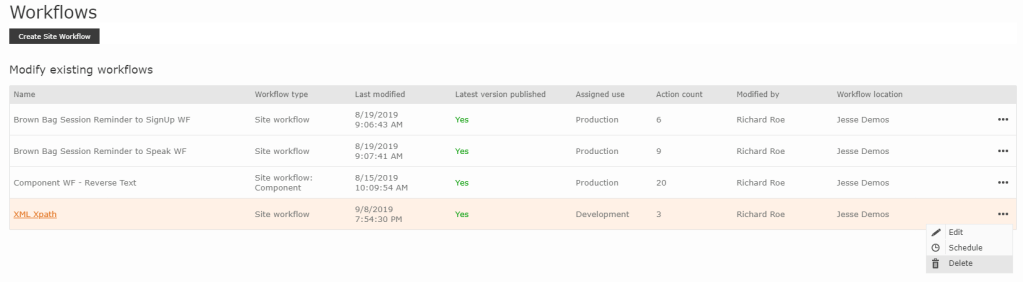
Once you have navigated to the object of where your workflow resides, click on the ellipsis to the right of the workflow and select delete from the options.
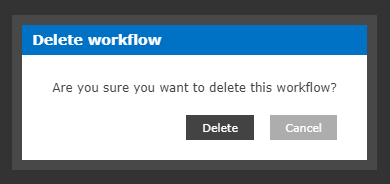
You will be prompted to confirm your selection just to be sure you really want to delete it. Keep in mind that this is permanent!
That’s it! You’ve successfully deleted your workflow.
Final Thoughts
Keep in mind that deleting a workflow is permanent. Meaning that you cannot get it back once it has been deleted. I would recommend that you take an export of the workflow and any corresponding task forms in the event that you need to reinstate everything.

Leave a comment